Looking at Animation Frame by Frame
Looking at animation frame by frame:
Animation has been around as long as anyone in our generation can remember. Literally! One of the first animations was made back in 1908, the short animation “Fantasmagorie”. Anyone can create an animation, it is just either successive drawings (for 2D) or positioning a puppet (3D stop motion) to create an illusion of movement when shown as a sequence. – (Oxford Dictionary).
If this sounds like something interesting to you, then look no further than the Spring Semester, DET 230 – “2D Animation for Games and Storytelling class”. The class will prepare you with the basic knowledge you need to get started, such as the 12 Principles of Animation (https://youtu.be/uDqjIdI4bF4). These are a greeting starting basis for how an animation will work and the processes it takes to make it look good.
The class was streamlined, after we learned the basics we went straight into animating. Students are allowed to create whatever type of animation they wanted, they just had to go at the pace of the “check-ins”, which were basically milestones for how your animation was coming along.
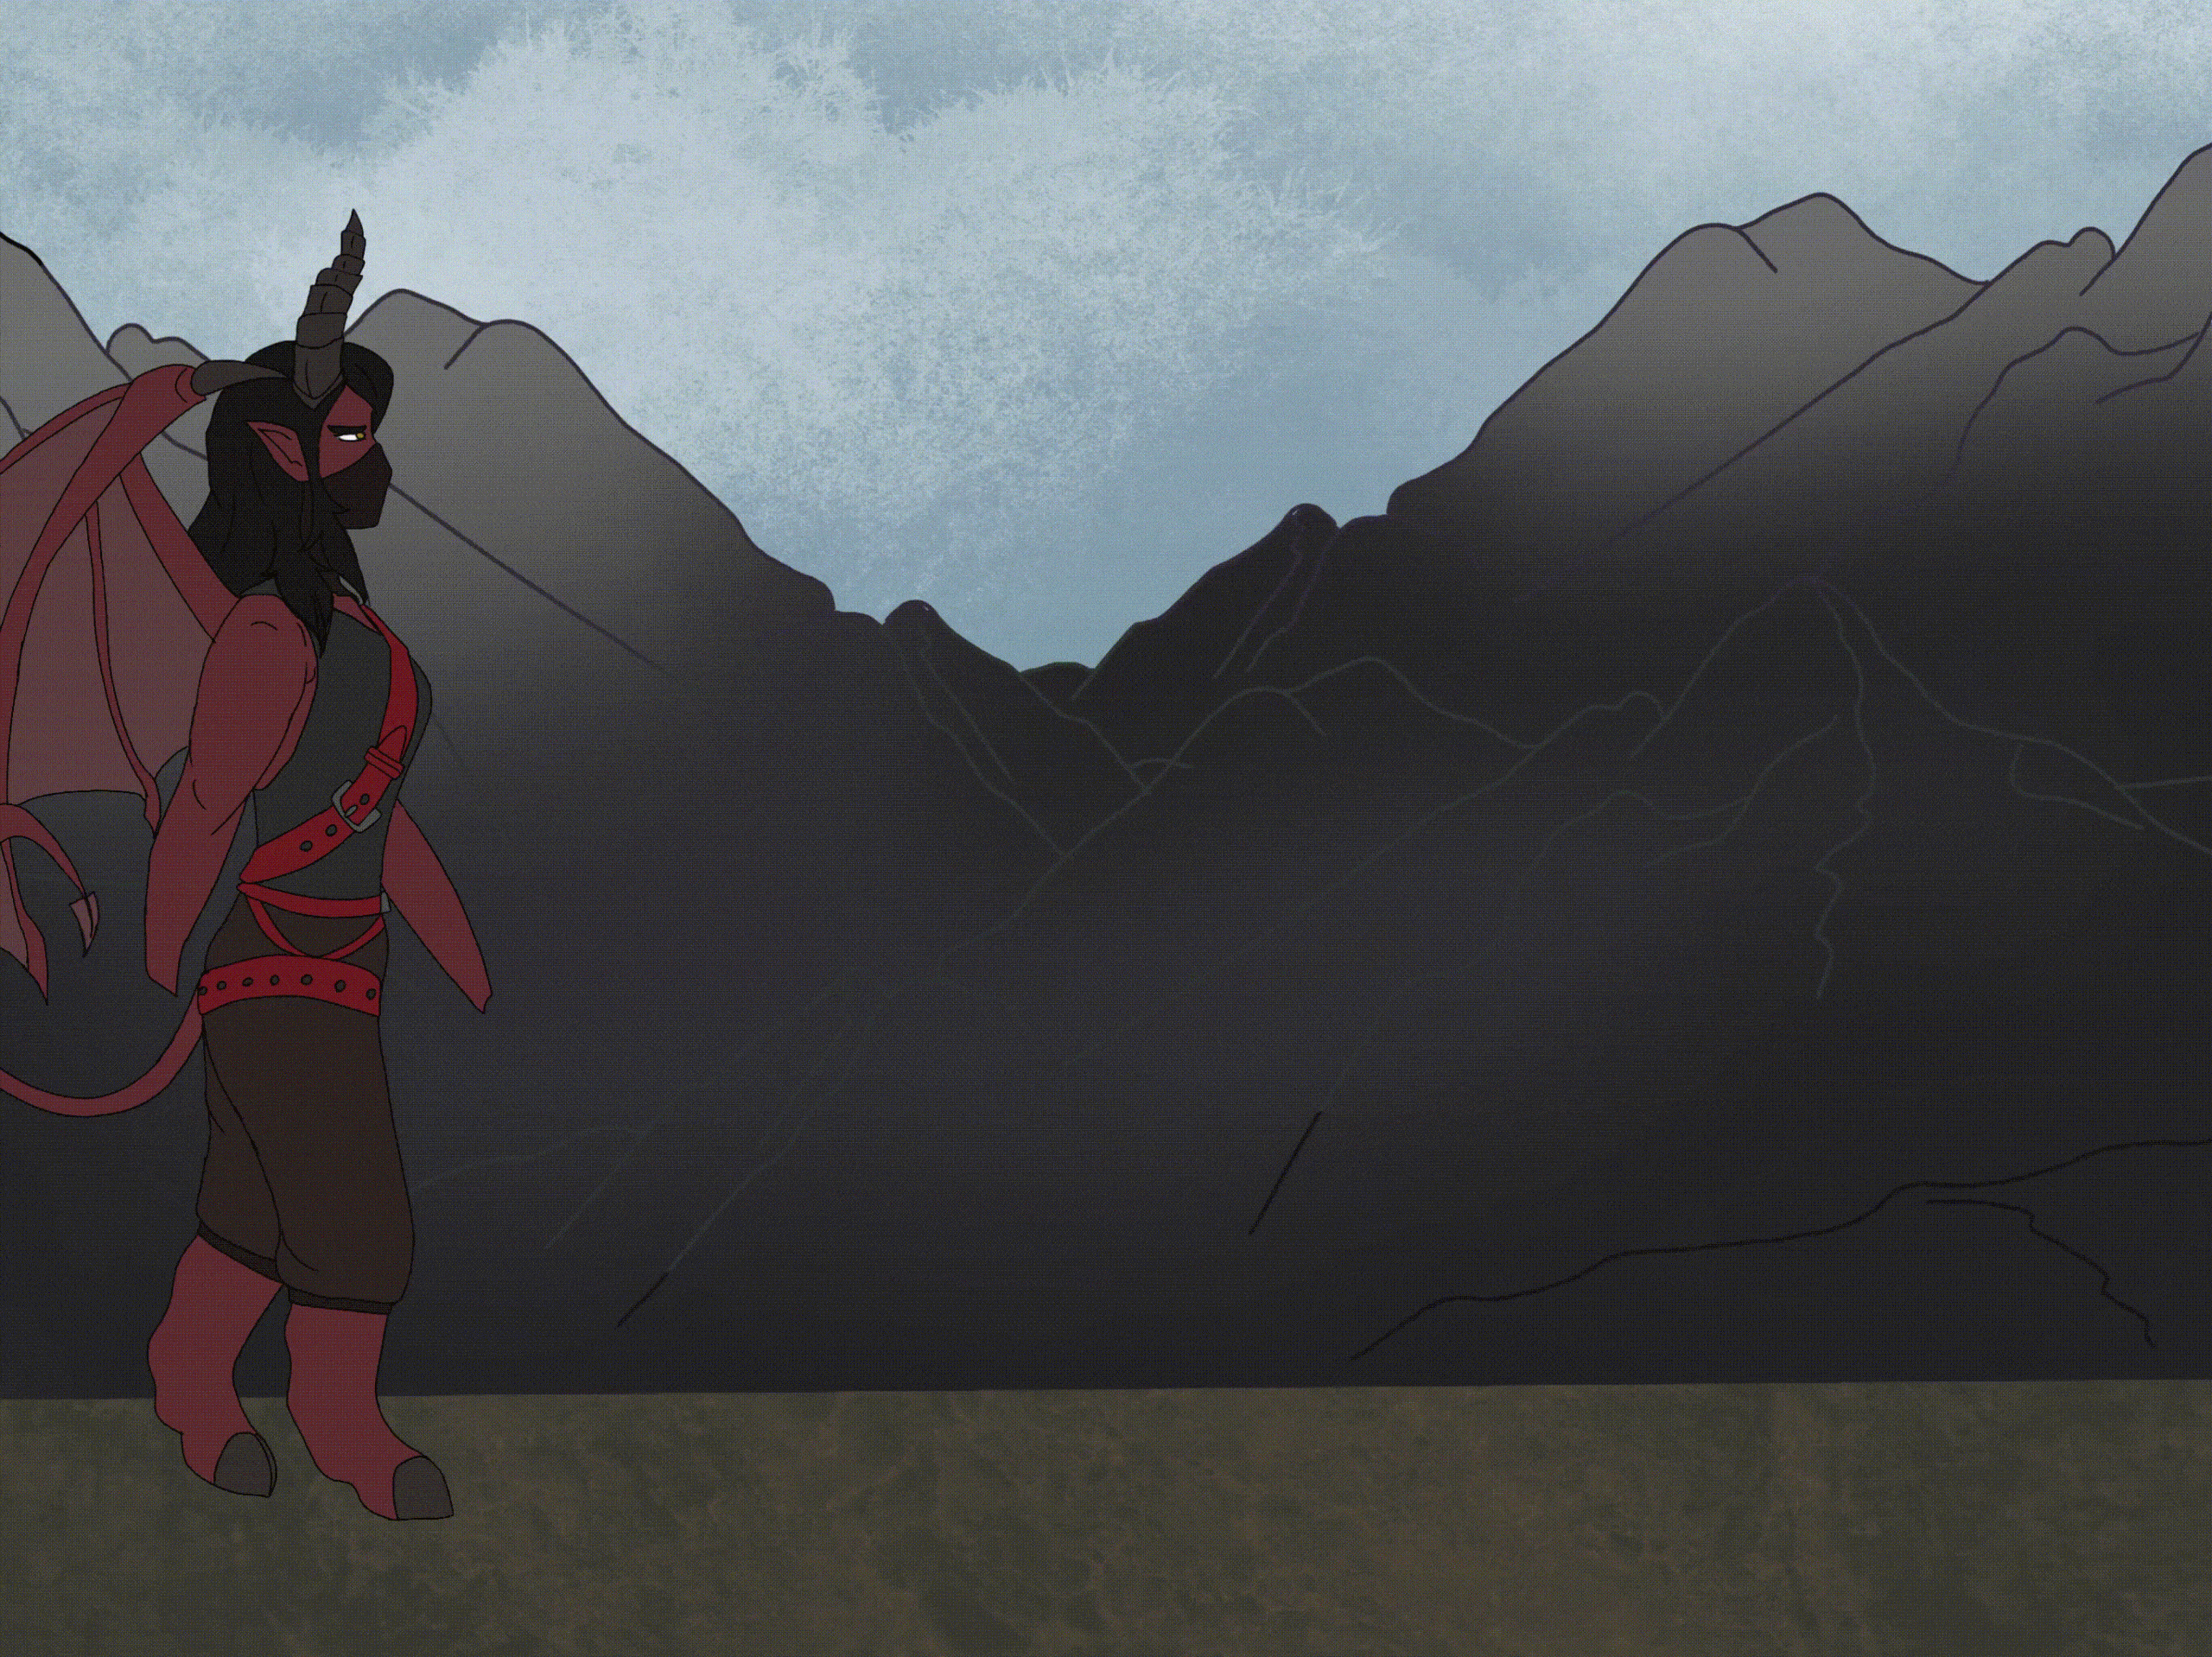
The first milestone in the animation process is to plan out a storyboard and create the character’s design. Looking at your animation as a whole will help you pace your story and visualize the scene you are trying to create. Animation has a wide variety of angles, spaces, and people, so it is best to pre-place them in rough drafts before finding yourself 12 frames in and realizing it doesn’t work.
Character creation on the other hand is a whole different step. You want to make your characters as simplistic but complex as possible- easy, right? What I mean is you can make an interesting character, just don’t do ten-thousand small details because you will be animating those small details every frame. But if that doesn’t bother you, then go right ahead. For those who don’t want to suffer, your character can have bigger details (i.e belt, wings, hat, etc….) that are easier to animate but still give your character flare.
The next milestone is the drafting phase when you finally put your ideas into software. You can choose from a wide variety, depending on what you want to do (i.e Procreate, Photoshop, Adobe Animate, or any drawing software that has an animation function). Here you just begin to put your frames from the storyboard into the timeline. Don’t worry about the transition frames, we will get to those. Here in this phase you just focus on the mainframes of the story, those you drew out. Here in the major frames, you will also begin to draw out the little details of movement (i.e eye blinks, hair moving, breathing, hands tightening, etc…), whatever the character would be doing within that frame.
The final milestone after drafting is finally putting your draft into the software. Along with being able to choose what you create, you could choose how you create it. However, depending on the application you pick will decide how you animate your project. You could either do a frame-by-frame animation (i.e Procreate, Photoshop) where you draw each individual frame for your entire project or use Adobe Animation software and rig your drawings with “bones”, where you create a skeleton structure to specify the virtual parts that allow the character to move. Using these methods you can now work backward, working from the main big scenes and creating the in-between transition frames. This step did take longer than the rest, having to draw entirely new frames without reference, just guessing, and then animating the in-between. There are a lot of the Principles that can help you with transition framing to help the entire piece flow better. But the ending result is worth it!

